The Art of Pumpkin Carving: From Patch to Masterpiece

As autumn arrives, one cherished tradition comes into focus – pumpkin carving. This age-old practice has evolved into an art form, captivating people of all ages. The journey of turning a pumpkin picked fresh from the patch into a carved masterpiece is a delightful and creative process. In this article, we’ll delve into the fascinating world of pumpkin carving, from selecting the perfect pumpkin to wielding the carving tools with skill and imagination.
The first step in creating a fantastic pumpkin masterpiece is selecting the ideal canvas. When visiting a pumpkin patch or local market, look for pumpkins that are firm, without any soft spots or blemishes. Ensure that the pumpkin sits flat to make carving and displaying easier. Consider the shape, size, and stem – these attributes can add character to your creation.

To carve a pumpkin, you’ll need a set of specialized tools. A pumpkin carving kit typically includes a serrated saw for cutting, a scraper for cleaning the inside, and various carving implements. Alternatively, some artists use kitchen utensils, power tools, or even hot knives for intricate designs.
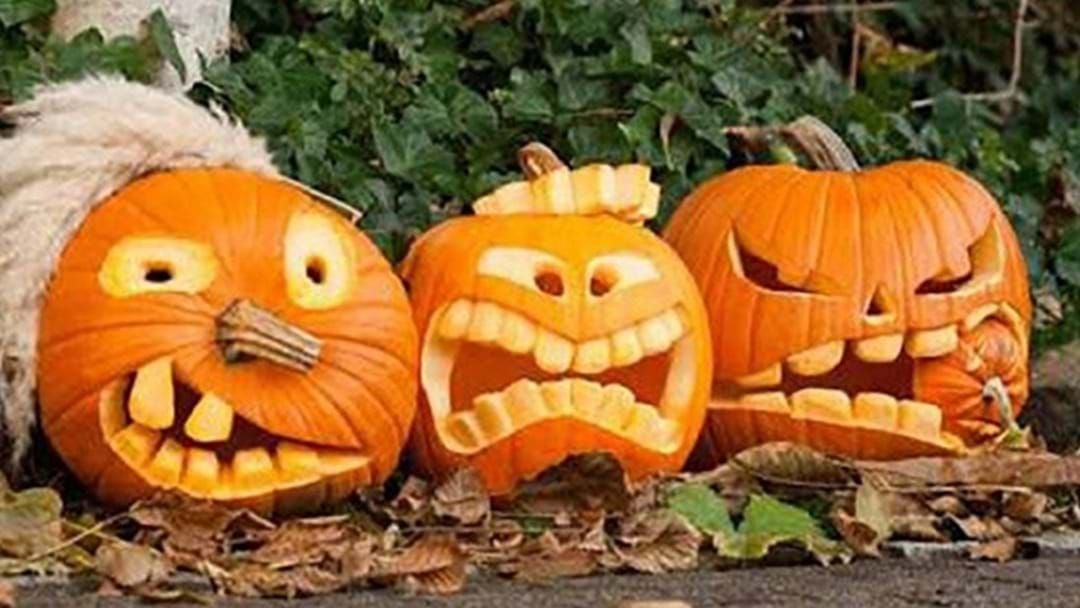
The next step is to envision your design. Some prefer classic jack-o’-lantern faces, while others embrace their inner artists with intricate patterns or portraits. You can draw your design directly onto the pumpkin or use templates for guidance. Don’t be afraid to get creative and personalize your design.
Carving a pumpkin requires patience and precision. Start by carefully cutting off the top (the “lid”) at an angle to create a ledge that prevents the lid from falling inside. Using a scraper, remove the seeds and pulp. Then, transfer your design onto the pumpkin’s surface and carefully carve along the lines. Take your time and be mindful of the thickness of the pumpkin walls, as intricate designs may need thinner walls for light to shine through.
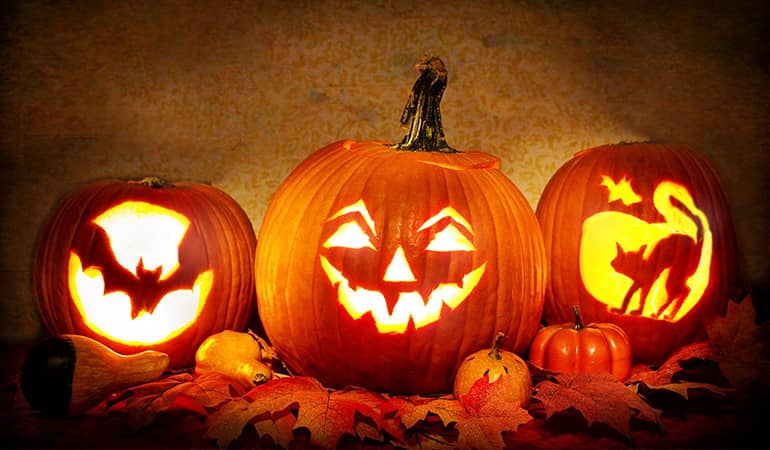
For the classic jack-o’-lantern, place a candle or battery-operated LED light inside the pumpkin to create a warm, inviting glow. Some carvers use multiple smaller pumpkins to create a whimsical pumpkin family. You can also experiment with colored lights for a unique effect.
To prolong the life of your pumpkin carving, apply a thin layer of petroleum jelly or vegetable oil to the cut edges to prevent dehydration. Keep your masterpiece in a cool place or refrigerate it if possible. Be sure to remove the light source before refrigeration.
The joy of pumpkin carving doesn’t end with your creation. Share your masterpiece with friends, family, or neighbors by displaying it on your doorstep. Consider hosting a carving party or contest to celebrate the season and showcase everyone’s unique creations.

Pumpkin carving is not just a Halloween tradition; it’s an art that allows individuals to express their creativity and celebrate the spirit of the season. From selecting the perfect pumpkin to carefully crafting your design and illuminating your creation, this age-old practice offers a world of possibilities for imaginative expression. So, gather your tools, pick the best pumpkin, and embark on your pumpkin carving journey, turning a simple gourd into a true work of art.
Hits: 6